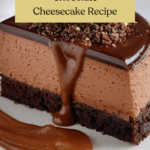
Decadent Dark Chocolate Cheesecake Recipe
Introduction
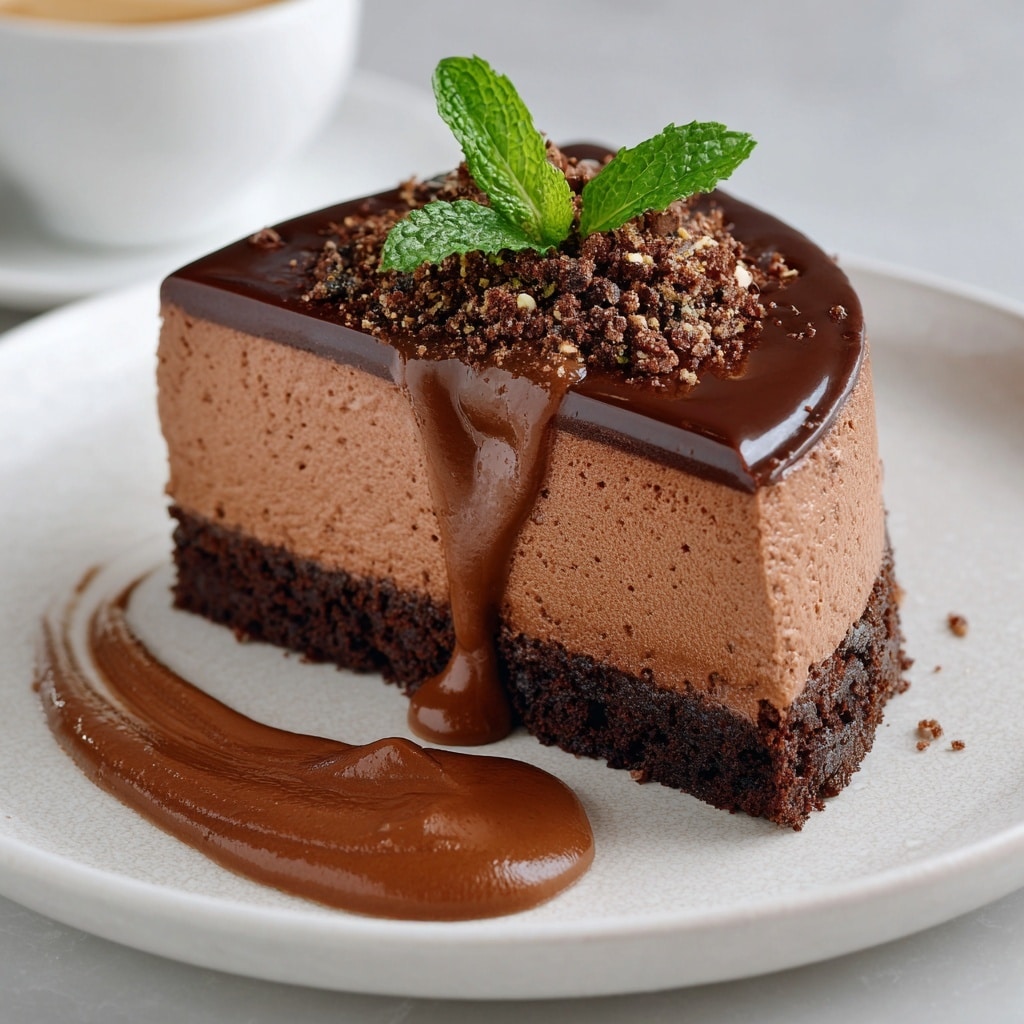
If you’re a fan of rich and indulgent desserts, this Dark Chocolate Cheesecake is sure to satisfy your cravings. Combining smooth cream cheese with intense dark chocolate, it’s a decadent treat perfect for any occasion.
Ingredients
- 16 oz cream cheese, softened
- 8 oz dark chocolate, melted
- 3/4 cup sugar
- 3 large eggs
Instructions
- Step 1: Preheat your oven to 325°F (160°C). In a large bowl, beat the cream cheese until smooth. Gradually add the sugar and mix until combined. Stir in the melted dark chocolate until evenly incorporated.
- Step 2: Add the eggs one at a time, mixing gently after each addition. Pour the mixture into a prepared springform pan. Bake for about 45-50 minutes, or until the center is set but still slightly jiggly. Allow to cool before chilling in the refrigerator for at least 4 hours.
Tips & Variations
- Use high-quality dark chocolate for the best flavor.
- Add a teaspoon of vanilla extract for extra depth.
- Serve with fresh berries or a drizzle of caramel sauce for contrast.
- For a crust, press crushed graham crackers or cookies into the pan before adding the filling.
Storage
Store the cheesecake covered in the refrigerator for up to 5 days. To reheat, bring to room temperature or enjoy chilled for the best texture and flavor.
How to Serve
Serve this delicious recipe with your favorite sides.
FAQs
Can I use milk chocolate instead of dark chocolate?
Yes, but the flavor will be sweeter and less intense. Dark chocolate works best for a rich and balanced taste.
How do I know when the cheesecake is done baking?
The edges should be set while the center remains slightly jiggly to the touch. It will firm up as it cools.
PrintDecadent Dark Chocolate Cheesecake Recipe

This decadent Dark Chocolate Cheesecake combines the rich, velvety texture of cream cheese with the intense flavor of dark chocolate, creating a luxurious dessert perfect for any chocolate lover. Simple ingredients come together in a smooth filling that is baked to perfection for a creamy, indulgent treat.
- Prep Time: 15 minutes
- Cook Time: 55 minutes
- Total Time: 4 hours 10 minutes (including chilling time)
- Yield: 8 servings 1x
- Category: Dessert
- Method: Baking
- Cuisine: American
Ingredients
Filling
- 24 oz (675 g) cream cheese, softened
- 8 oz (225 g) dark chocolate, melted and slightly cooled
- 1 cup (200 g) granulated sugar
- 3 large eggs
Instructions
- Prepare the filling: In a large mixing bowl, combine the softened cream cheese and granulated sugar. Beat together until smooth and creamy, ensuring no lumps remain. Gradually add the melted dark chocolate and mix thoroughly to incorporate the chocolate evenly throughout the filling. Finally, add the eggs one at a time, mixing gently after each addition to maintain a smooth texture without over-beating.
- Bake the cheesecake: Preheat the oven to 325°F (163°C). Pour the chocolate cream cheese filling into a prepared springform pan. Bake in the preheated oven for approximately 50 to 60 minutes, or until the cheesecake is set around the edges but slightly jiggly in the center. Remove from the oven and let it cool gradually at room temperature before refrigerating to allow the cheesecake to fully set and develop its flavors.
Notes
- Use room temperature cream cheese for a smoother filling without lumps.
- Melt the dark chocolate gently using a double boiler or microwave to avoid burning.
- Do not overbeat the eggs into the filling to prevent cracking during baking.
- Allow the cheesecake to cool gradually to minimize surface cracks.
- Chill the baked cheesecake for at least 4 hours, preferably overnight, before serving for best texture.
Keywords: dark chocolate cheesecake, chocolate dessert, creamy cheesecake, baked cheesecake, rich chocolate dessert